 Riding an ATV is an exhilarating outdoor adventure, but like any machine, ATVs are not immune to occasional breakdowns. Being prepared for the unexpected is essential, especially when riding off-road in remote areas. In this blog post, we will explore some basic ATV repairs that you can perform on the trail to keep your ride going smoothly. Additionally, we’ll discuss the essential tools to bring along, ensuring you’re equipped to handle common issues that may arise during your off-road excursions.
1. Pre-Ride Inspection
Before setting off on your ATV adventure, always conduct a thorough pre-ride inspection to identify potential issues. Check the following components:
- Tires: Ensure the tire pressure is at the recommended level, and look for any signs of punctures or damage.
- Fluids: Check the oil, coolant, brake fluid, and fuel levels. Top up as needed.
- Brakes: Test the brakes to ensure they are responsive and not overly worn.
- Chain and Drive Belt: Lubricate the chain and inspect the drive belt for signs of wear.
- Lights: Test all lights to ensure they are working correctly.
- Controls: Check the throttle, clutch, and brakes for smooth operation.
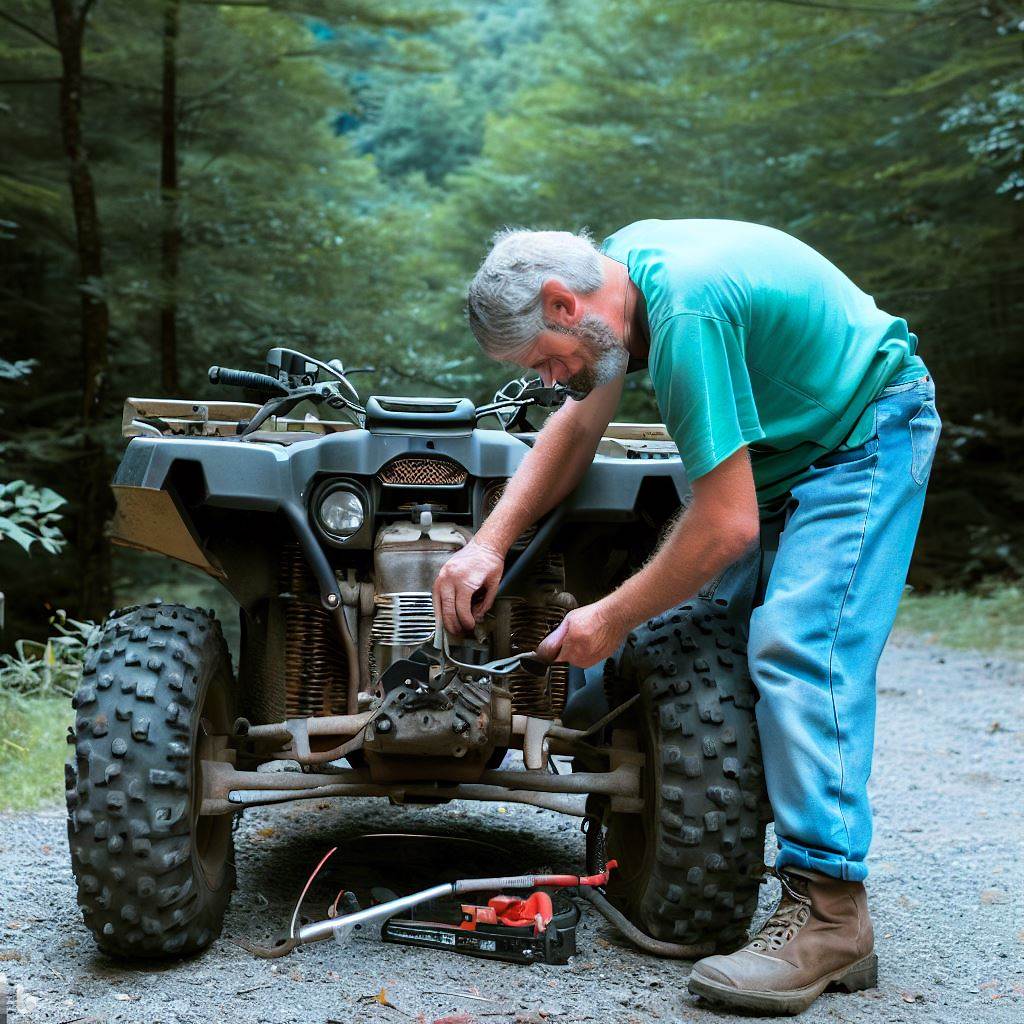
2. Basic ATV Repairs on the Trail
Despite your best efforts, breakdowns can still occur while riding an ATV. Knowing some basic repairs can save you from being stranded in the wilderness. Here are a few common issues and how to address them:
- Flat Tire: Carry a tire repair kit, including a tire plug and portable air compressor. If you get a flat, use the kit to plug the hole and then inflate the tire to a safe pressure.
- Overheating: If your ATV’s engine overheats, stop riding immediately to avoid damage. Let it cool down before checking the coolant level. If low, top it up with water if necessary (carrying a small bottle of coolant is advisable). Seek professional help if the issue persists.
- Broken Chain: If your chain snaps, you’ll need to carry a chain breaker and a spare master link. Remove the damaged section of the chain, install the master link, and rejoin the chain. Keep the chain well-lubricated for smooth operation.
- Electrical Issues: Carry a basic toolkit, including pliers, screwdrivers, and wire cutters. Use these tools to check and repair loose wires or blown fuses that may cause electrical problems.
- Fuel Problems: If you run out of fuel, use the reserve tank if available. Always carry a small container of extra fuel in case of emergencies.
3. Essential Tools for Trailside Repairs
Carrying the right tools can be a lifesaver during an ATV trip. Here’s a list of essential tools to include in your trailside repair kit:
- Toolbox: Invest in a sturdy, compact toolbox to keep all your tools organized and protected from the elements.
- Tire Repair Kit: This should include tire plugs, a tire gauge, and a portable air compressor.
- Chain Breaker and Master Link: For fixing broken chains.
- Basic Toolkit: Screwdrivers, pliers, wrenches, and wire cutters for handling electrical issues.
- Spark Plug Wrench: Essential for replacing spark plugs.
- Duct Tape and Zip Ties: These versatile items can temporarily fix various issues until you reach a more permanent solution.
- Extra Fluids: Carry small quantities of oil, coolant, and brake fluid in spill-proof containers.
- Flashlight or Headlamp: Useful for working on your ATV in low-light conditions.
Riding an ATV can be an unforgettable experience, but it comes with a responsibility to be prepared for potential issues. By conducting pre-ride inspections, learning basic repairs, and carrying essential trailside tools, you can stay safe and tackle common problems that may arise during your off-road adventures. Remember that these tips are for basic repairs, and for major issues or persistent problems, seek the help of a professional ATV mechanic. So, gear up, be prepared, and ride on with confidence!